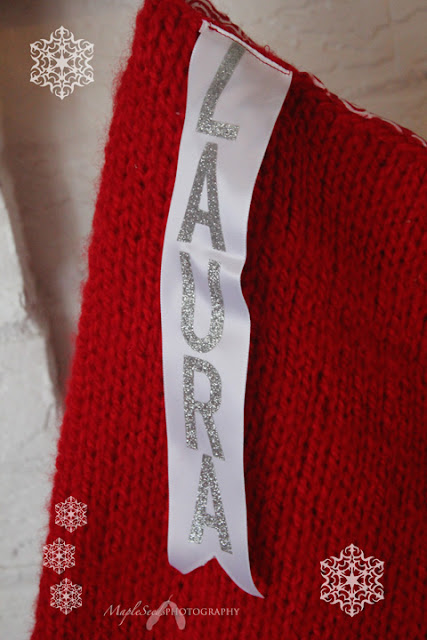
A few years ago I wanted to make us all matching Christmas stockings. I couldn't find a large enough stocking for what I needed so I modified a pattern that I found to make my own! The measurements for this stocking are on the last pictures and you can download this pattern at the end also!
Enjoy!
Download a printable Word doc version
HERE!
Giant Knitted Christmas Stocking
Materials:
US # 10.5 12 inch circular needle
US # 10.5 DPN
Chunky weight yarn 2 colors
I recommend Lion Brand Jiffy, but other chunky weight yarns
work.
Using circular needles CO 56 sts.
Join and work around in St st. for 12-inches, approximately 55 rows. Be sure to
place your marker at the beginning of the row and leave it even when making the
heel.
K across first 15 stitches, then changing to DPN:
Sl 1, K 26, turn
Sl 1, P to end of needle, turn
Rep last 2 rows (working back and forth on needle)
9 times more (10 total).
Still working back and forth on DPN:
1) Sl 1, K16, SSK, turn
2) Sl 1, P8, P2tog, turn
3) Sl 1, K to 1 st before gap, SSK, K1, turn
4) Sl 1, P to 1 st before gap, P2tog, P1, turn
Rep 3 & 4 until 10 sts remain.
Using circular needles, pic up 11 stitches
with each on either
side of the 10 heel stiches.
Knit across 21 of the heel stitches, back to
where color 1 begins.
Break color 2 and begin
knitting with color 1 back to the marker.
This is now the beginning of round.
You should now have 60 stitches.
Next:
1) K 1 round even
2) K 13, SSK, K32, K2Tog, knit to end
of row
3) Decrease 8
stitches evenly aound
(K6, K2tog, K5, K2tog around). 50 sts.
4) K11, SSK, K24,
K2tog, knit to end of row
5) Knit 1 row
6) K10, SSK, K24,
K2tog, knit to end of row
48 sts rem.
K around even until 8-inches from beg of heel about 28 of color A and 1 row of
color B.
Next:
1) K11, SSK, K2, K2tog, K22, SSK, K2,
K2tog,
knit to end of row
2) Knit 1 round even
repeat last 2 rounds twice
Next:
1 1) K4, K2tog* repeat around
2 2) knit 1 round
3 3) K3, K2tog* repeat around
4 4) Knit 1 round
5 5) K2, K2tog* repeat around
6 6) Knit 1 round
7 7) K1, K2tog * repeat around
8 8) Knit 1 round.
16 sts remain. Cut
yarn leaving long tail,
run tail through rem sts. Weave in ends.
For the loop I just made an I-cord and
sewed it on. I also made a fabric liner by tracing the stocking on two layers of fabric, but out and sew. Turn down the top edge and hand stitch the lining into the stocking.


